 So the materials you will need are:
- Two polishes of different colors
- Something with a rounded end (I. E. a toothpick, paintbrush, make up brush, etc...) the size of the item you choose will determine the size of your polka dots!
- A paper plate or piece of cardboard to drip nail polish on
Start by painting your nails two thin coats of a color of your choosing. I, personally, like to use a vibrant base color with white dots.
Aaaannnnnd I forgot to take a picture of this step, but you get the idea.

Next, take the brush out of the color you're going to use for the dots, but instead of wiping off the excess, just let it drop onto your piece of cardboard.
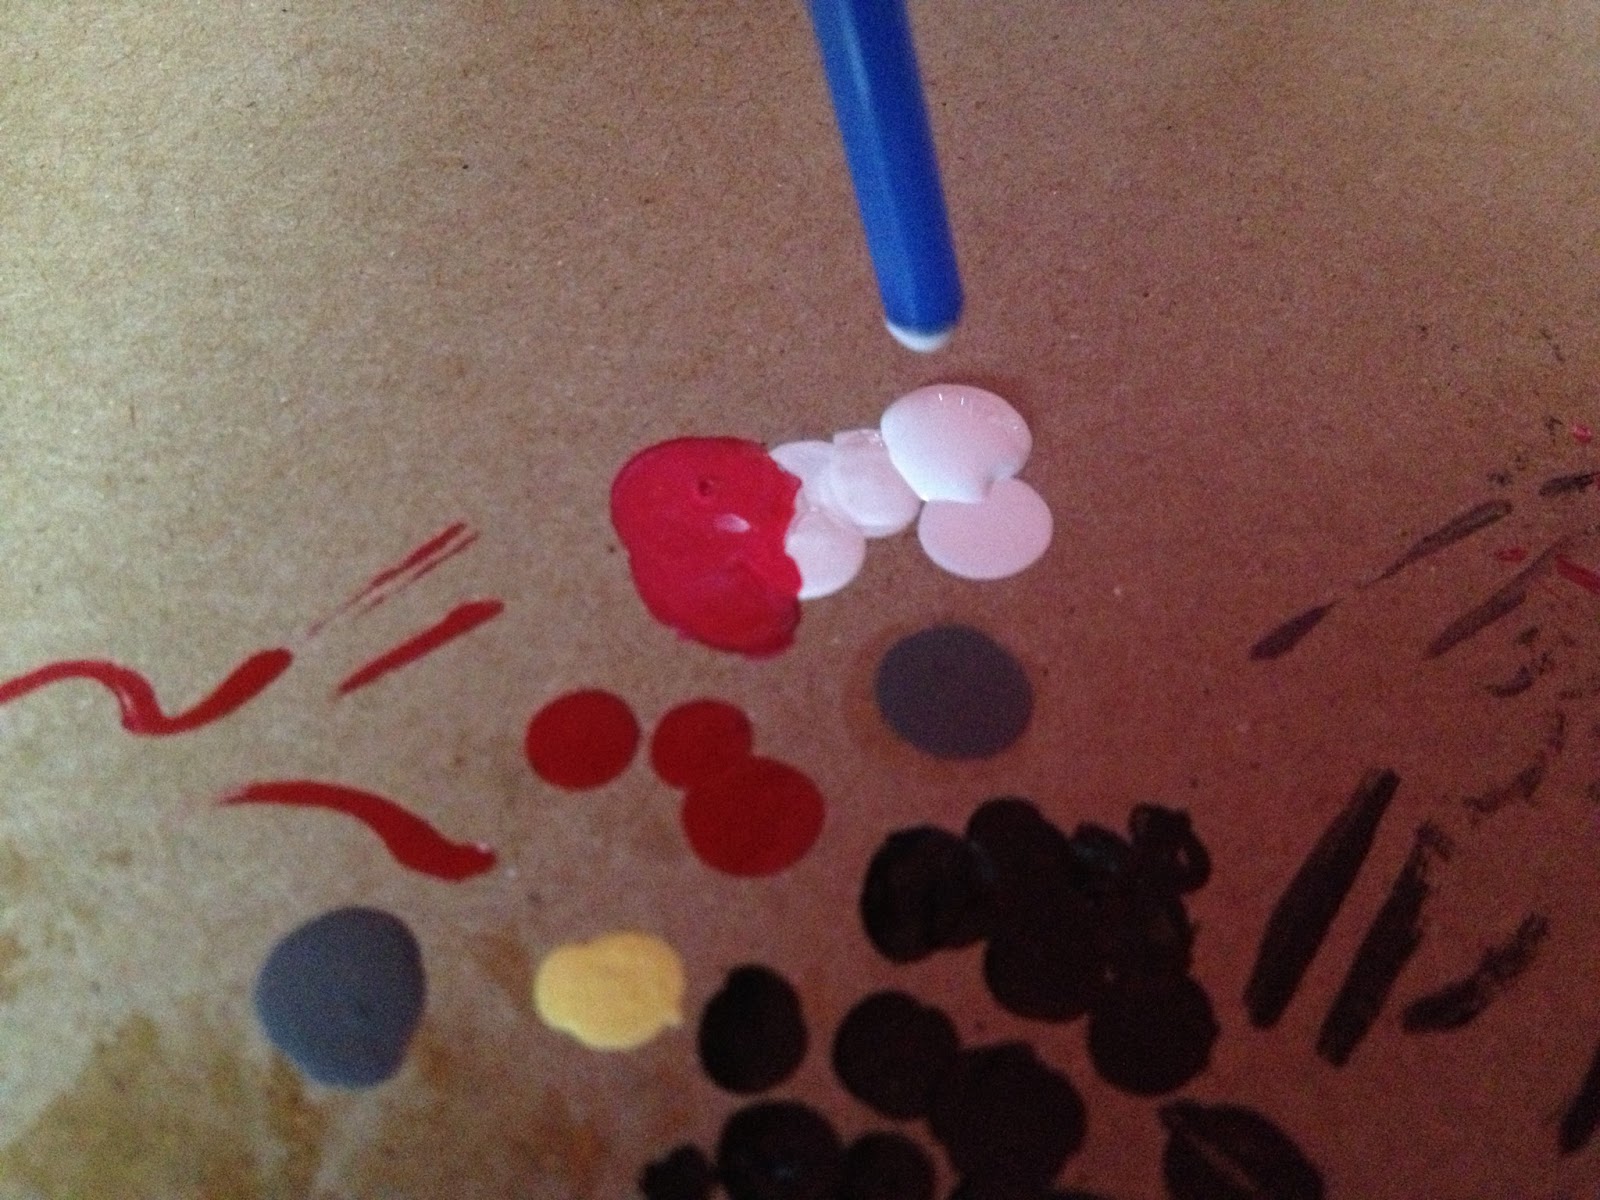
Take the tool you've chosen and dip the round end into the wet polish you've just dripped out. I like to just kind of poke into the center of the glob until i hit the bottom and then start working on my nails. Once is enough for about two or three dots.

This part is kind of important! When creating the polka dots, remember that the dotting tool is carrying a lot of polish so the first dot will be petty big if you press all the way down like you did when you were "picking up" the polish. To get an even pattern, start with three dots down the center of the nail.

There are two ways to look at this next step. One way is to think of it as making a diagonal line with each row of dots and the other way is to think of it as making a new column of dots next to the first one, but you're starting one space below. Each dot on the side will have that awkward empty space next to it.

That's where a lot of people stop because there isn't enough room for any more full dots, but to make the pattern look complete, the key is to go ahead and keep dotting even if you're getting half of the polish on your cuticles and half on your nails. You can always clean it up later!

Nobody's dots are ever perfect, but this simple design has never failed to catch people's eyes because it looks like so much time and effort went into it, when in reality, you only spent a minute or two on each nail! Thank you for reading and if you have any tips or suggestions for how I can make this tutorial any better, please comment!